Candle Care
Hello! We want to ensure that you experience the full burning and scent potential of your jar candles. Follow the below guidelines to properly care for your candles while also maintaining important safety measures. Happy Burning!
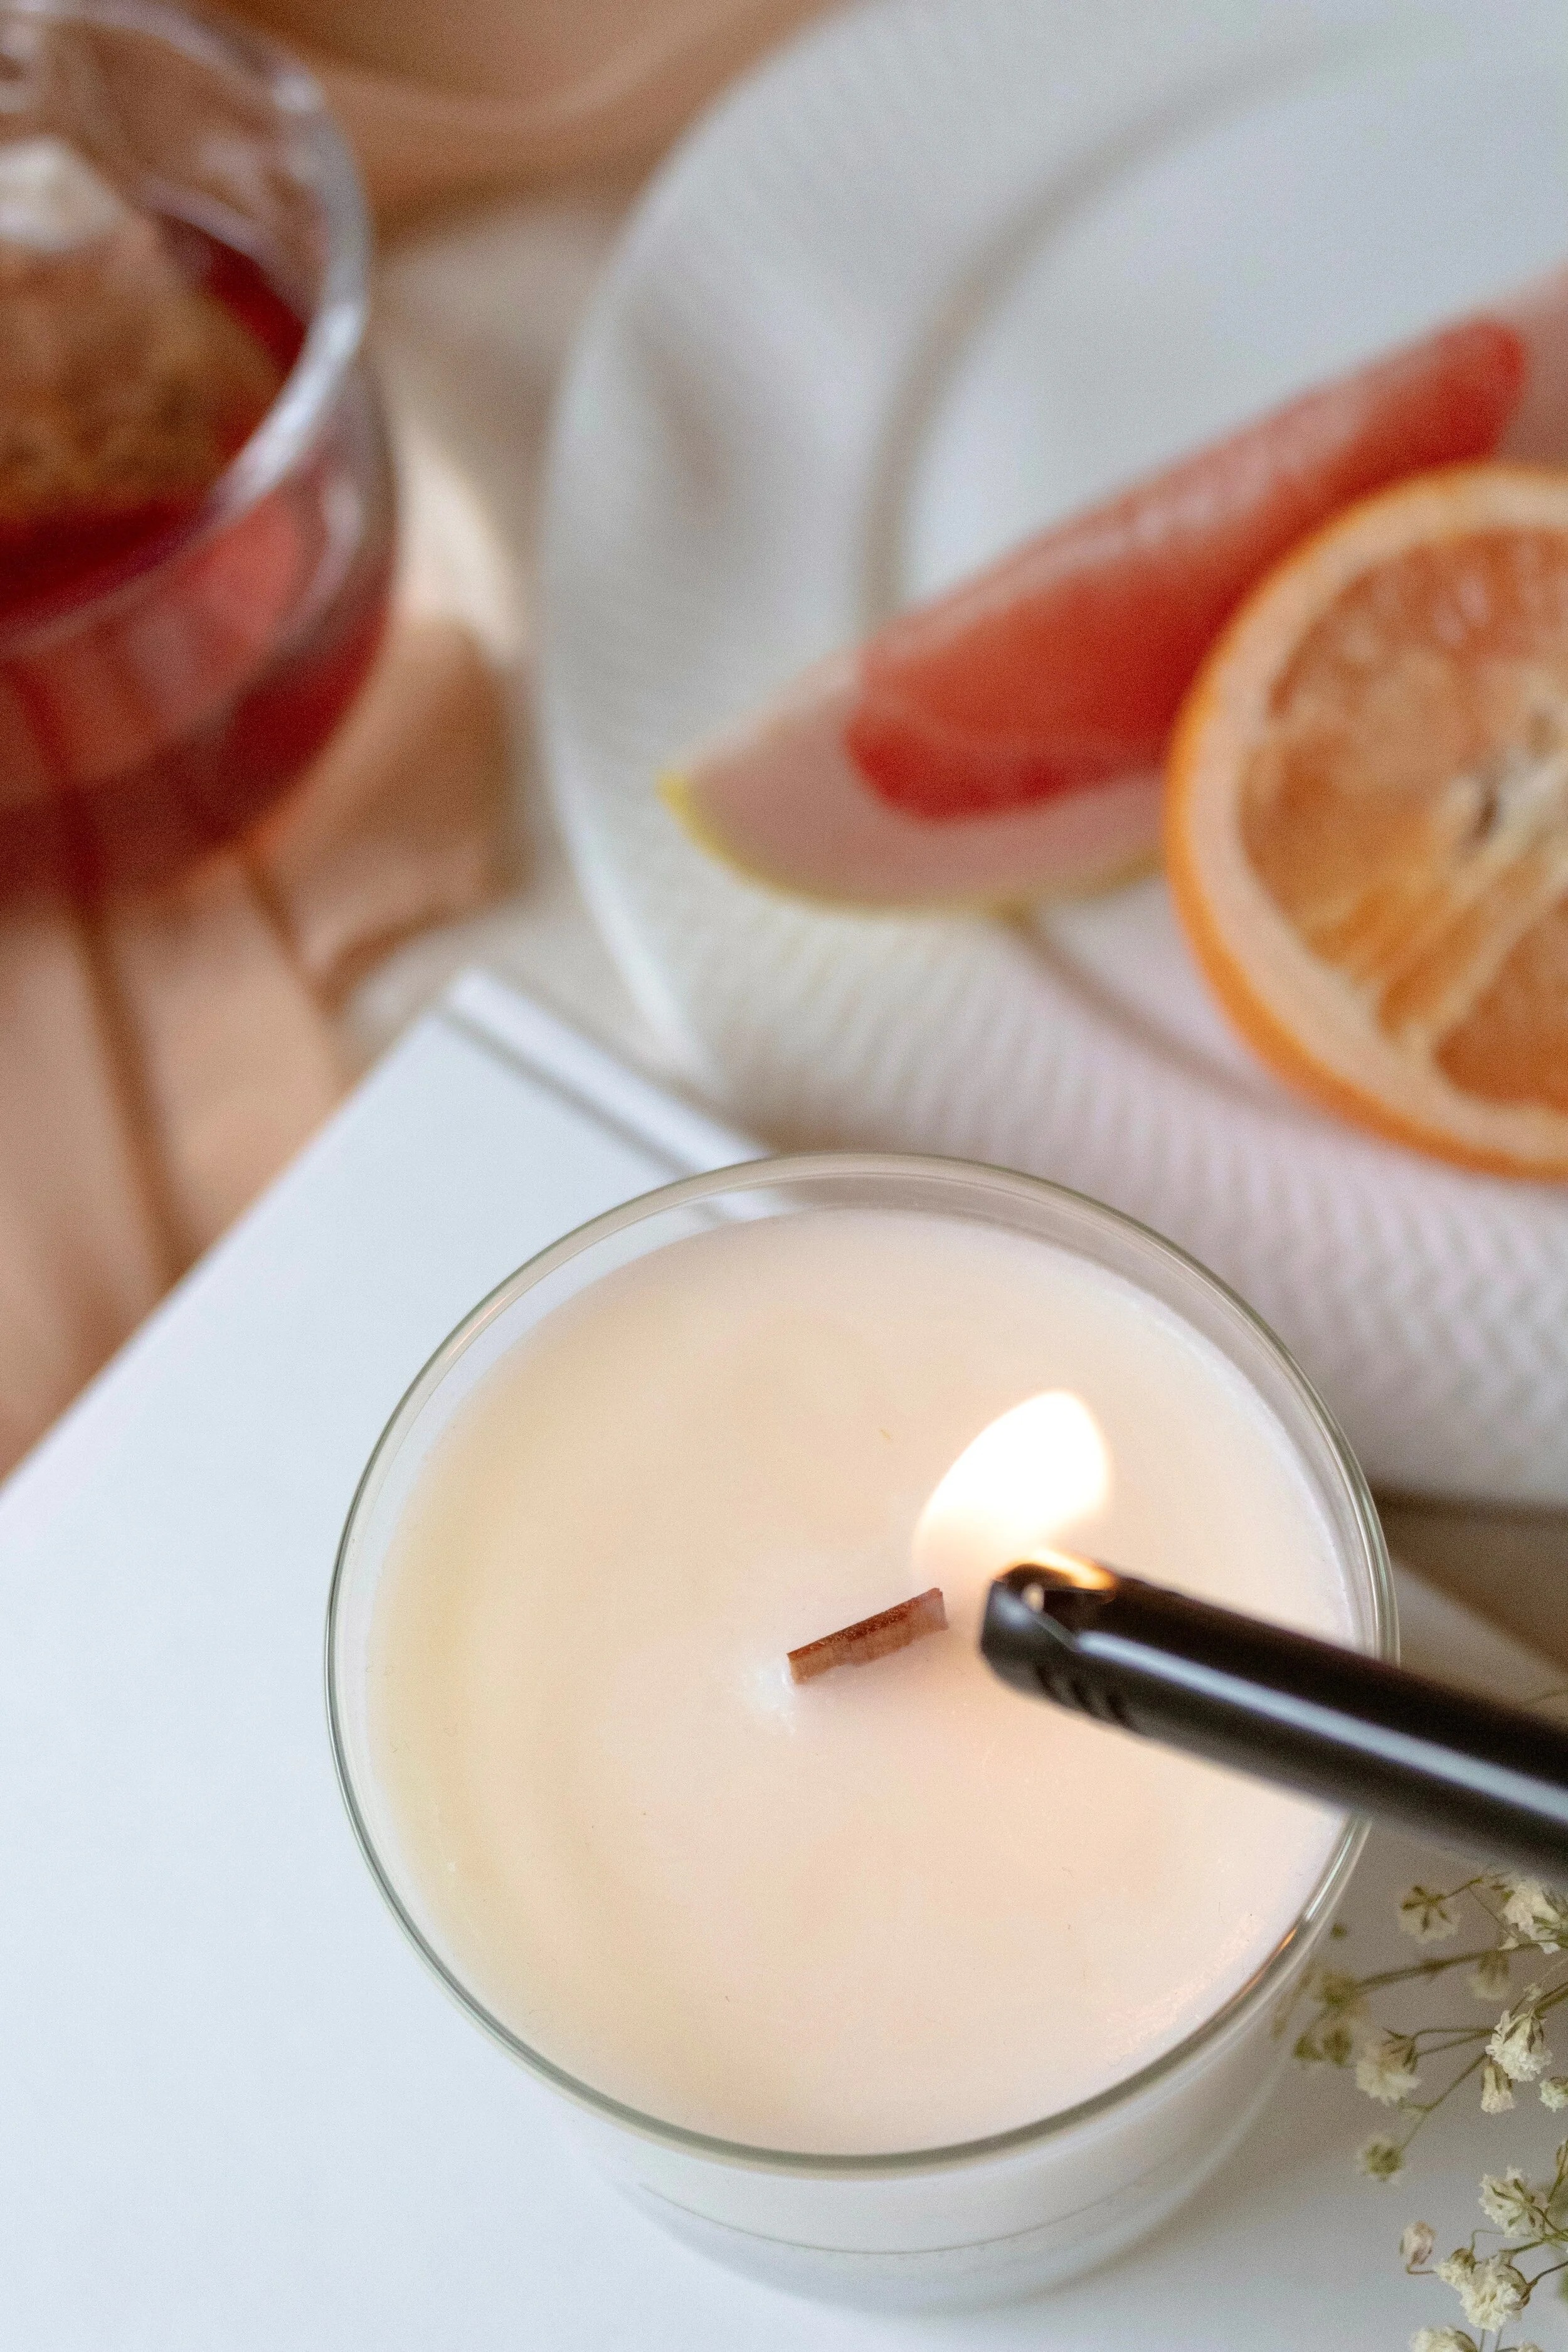
1. First Burn
On the first use, remove the dust cover and burn your candle for at least 2-3 hours, or long enough to fully melt the top layer of wax evenly across the entire surface, creating what is known as a full ‘melt pool’. This prevents tunneling and makes the candle last longer!
+ Click To Learn More
The first burn is the most important as it sets the candle’s ‘memory’ in the wax, which becomes the foundation for how the rest of the candle will burn. If the candle is not burned properly the first time, it will start to ‘tunnel’ for the rest of its life and no one wants to waste their newly lit candles!
What is tunneling?
Tunneling is when the center of the candle burns up to its ‘memory ring’ (or where it stopped melting to) causing uneven burns and leaving wasted wax on the outer rim.
2. Trim Wick
Trim the wick before every burn to at least 1/4 to 1/8 of an inch to ensure the flame is at the right height for the candle. Untrimmed wicks will emit carbon (black soothing smoke) or cause over-burning and even discoloration. You can use wick trimmers, nail clippers, or even break off the burnt ends with your fingers.
+ Click To Learn More
If the wick is too long , it will cause soothing and over-burning of the wax (causing the candle to burn at a faster rate). If your flame is dancing vigorously while having constant black smoke, this is a sign that your wick is too long and needs trimming.
If the wick is too short, it may not light and even get drowned in the melted wax. If you are experiencing weak flame, blow out the candle and pour out some of the melted wax (or even use a Q Tip to soak up the wax) to expose more of the wick.
A good quality wick trimmer will cost you around $10 - $15. Below is the one with the highest rating on Amazon: Wickman Candle Wick Trimmer (not affiliated or sponsored).
3. General / Safety Tips
Do not burn your candle for longer than 4 hours at a time and stop burning when 1/2 inch of the wax remains. This prevents the jar from overheating!
+ Click To Learn More
- Keep your candle free of all foreign objects to prevent fire hazards.
-
Light your candle in a well-ventilated room, away from drafts or fans as this can cause sooting.
-
Place your candle on a flat, heat-resistant surface and keep away from children or pets.
-
Always store your candle in a cool dry place and away from direct sunlight.
-
ALWAYS burn your candles in sight and never leave a burning candle unattended.
-
Be cautious when extinguishing the flame - use a candle snuffer to prevent splashing of the wax.
-
Allow the jar and wax to cool completely before touching or moving.
Lingben Candle Snuffer is the one I first started out using (only $10) but there is a The Bundle Set that is also very popular on Amazon (not affiliated or sponsored).
4. After Care
Finished burning your favorite candle? There are easy ways to remove the leftover wax from candle jars and fun ways to repurpose them!
+ Click To Learn More
-
Fill a bowl/pot with boiling water and place the candle jar for a few minutes for the wax to soften.
-
Once the wax has melted, carefully remove the jar from the water and pour out the remaining wax (never down the drain). Thoroughly wash using warm water and soap.
-
Don’t forget to remove the remaining wick and the wick-holder. The boiling water will soften the adhesive enough to remove but if stuck, slip a pen underneath to pop it out.
Do not microwave to melt the leftover wax as the wick holder that holds the wick in place is made out of metal.
My favorite way to repurpose the candle jars is to turn them into a vase or a plant pot. You can also use it as a catch-all jar to tidy up your vanity or desk area. I use mine to keep my Q-Tips, cotton swaps, pens, or any other stationery items. Not to mention, these jars work great as wine/whiskey glasses!
Stay tuned for a future blog on all the ways you can reuse our candle jars!